Showing posts with label Failing. Show all posts

Tuesday, April 24, 2012

Fruit Leather Failing

By now I'm sure you've all realized I have no problem sharing when a project or recipe doesn't turn out quite the way I wanted it to. Well, if you like failures, today's post should be quite fulfilling for you.

I really like fruit leather, and have since I was about 5. Everyone teased me for liking it for years, and somehow now it's becoming cool? WHAT?! Not fair. Well, if you go to the snack aisle in Target you can find about 15 different kinds of it now. Being that I'm no longer called a granny for liking it, I thought I'd try my hand at making it. There are recipes all over Pinterest, and they all include fruit, sugar, lemon juice, and water. 
Easy, right? How could you screw it up? Well, my friends, choose the recipe that tells you that making it on wax paper will work, and THAT'S how you screw it up. I read it and thought "Hm, that seems odd!" but figured the cook must be right. I know realize they must have meant parchment paper, because fun fact:
WAX PAPER IN THE OVEN MELTS LIKE A CRAYON AND STICKS TO EVERYTHING.

Okay. I'm sorry. I'll calm down. 
The deal is, the pieces I managed to pull off were delicious, so when I'm done being frustrated I'll make it again. 

WHAT YOU'LL NEED:
- 2 cups worth of chopped strawberries
- 1 Tbsp fresh squeezed lemon juice (and zest if you have it!)
- 1 Tbsp white sugar (more or less to taste)
- 1 Tbsp water
- Parchment paper
- Tiny bit of butter or crisco

HOW TO MAKE IT HAPPEN:
1. Preheat oven to 150 degrees (this shouldn't take long!)
2. Chop up your strawberries and throw them into a sauce pan with the water and lemon juice.
3. Cook on medium low until the strawberries are bubbling slowly.
4. Throw the strawberry mixture into a food processor or blender with sugar and blend until smooth.
5. Line cookie sheet with PARCHMENT PAPER, grease/butter lightly and spread mixture until even. 
6. Place in oven and cook for 6 hours at 150. Yes, this is a long time. I know. If your oven doesn't go as low as 150, keep it as low as it'll go and slightly prop the door open! You don't want your leather to burn!
7. Let it cool, and peel it off!


Now please, please, please use parchment paper. Otherwise your wax paper will melt in with your fruit leather, making it impossible to peel off. This is what you'll end up with:
 Pathetic, I know. Also: heartbreaking. 
 I feel a little ridiculous peeling the stuff off in tiny pieces but after waiting for it for 6 hours, there was no way I was going to let it all go to waste! The tiny bits I got were delicious. 

 Anyone ruined any recipes lately to make me feel any better? 
Do share.


xo, lp

Wednesday, February 1, 2012

Valentine's Candles

    What do you do when you buy an obscene amount of Red Hots that you don't in fact need? I guess not a question you might encounter in everyday life, but after my Valentine's Flower Vase FAIL the other day, I had to ask it. Maybe I couldn't fill a vase with the candies, but I sure as heck could fill a candle holder with them. And you know what, I did just that. 
   
     I got a handful of tea lights and mini votive candles at the dollar store and tried to make as many different vessels to put them in as possible. I realize some of them may be a little tacky- but guess what folks, it's Valentine's Day- that's kinda the name of the game. You'll have to turn to Martha for more sophisticated ideas this time my dears, sorry.

Candle #1
1. Take glass vessel.
2. Dump Red Hots in said vessel.
3. Push candle in said Red Hots.

Rocket science, I know. The benefit of this is a warm cinnamon smell when the candle burns. Mmmm-mm.
 Candle #2
1. Be a klutz and break a plate while trying to load it in the dishwasher (yes, this really happened).
2. Wash said broken plate that magically didn't shatter- but rather perfectly cracked in half.
3. Set weird half plate against a wall and begin to fill with Red Hots.
4. Push candles in Red Hots.

Ooooooh one more step than Candle #1, hope you're still with me here...


 Candle #3:
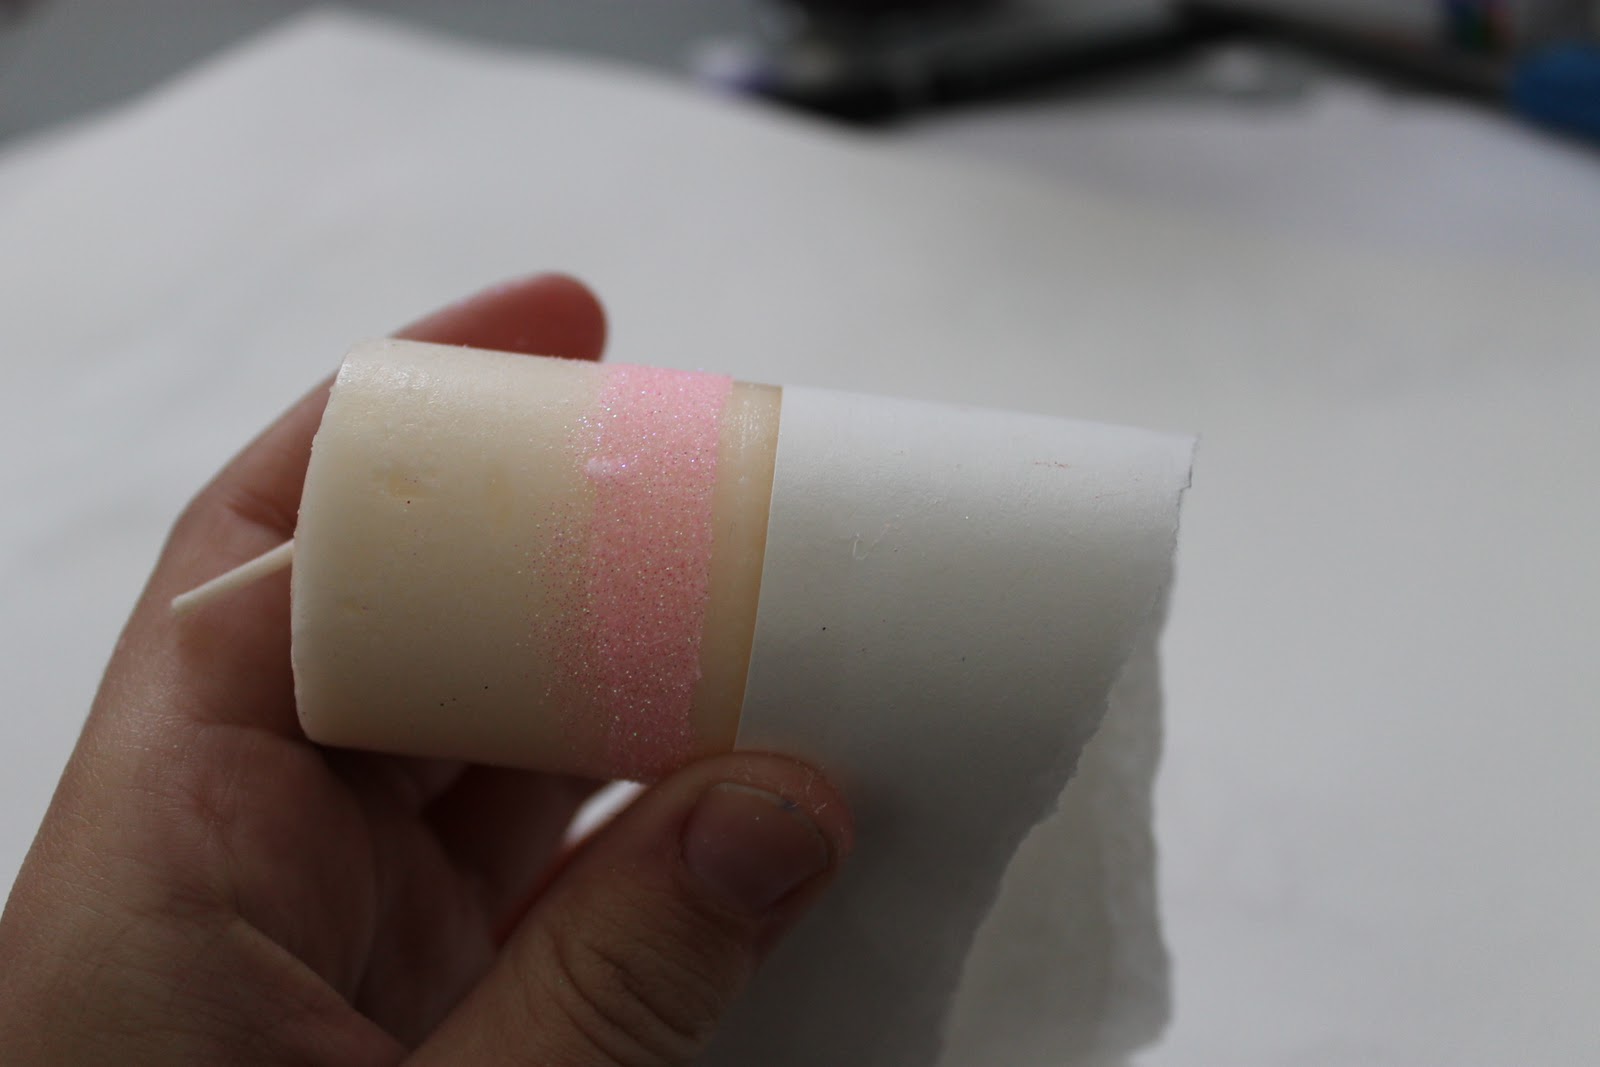
1. Take votive candle and spread glue from a glue stick around the bottom 1 1/2 inch
2. Cover the bottom part with paper, leaving a little glue exposed, and sprinkle with glitter color of choice.
3. Repeat step 2.
4. Repeat step 2 again. Only this time you clearly don't need to cover the bottom. Woo hoo!

End result: Sparkly gradation. Can't go wrong there.


 Candle #4: Fail Candle

1.Stupidly decide to try and free hand a heart with your glue stick, getting a poorly shaped heart and random glitter ALL OVER your candle and fingers.
2. Throw Fail Candle away.

You know, with a stencil, this would have turned out. I was glittered out at that point and didn't try it- but if you try it, let me know how it goes!

Candles #5 and #6:

1. Take empty jars (from pesto) and sprinkle glitter in the bottom of one, and Red Hots in the bottom of the other.
2. Add tea light.

Yes, I'm almost 24 and I "made" candle crafts a 4 year old would laugh at. Back off.


Finally, group 'em all together and enjoy!

     Like I said, I'm aware these aren't high-end, fancy, labor intensive candle crafts. Is there such a thing? Maybe. Either way, other than the dollar candle box, this was all free 99.

Have any fancy, high-end candle crafts I should keep in mind for next year, if I decide to make V-Day a classy affair??


** {av} from {longdistanceloving} will be here tomorrow guest posting with the perfect v-day gift guide, make sure to stop  by tomorrow to check it out! ***

Thursday, January 26, 2012

Valentine's Flowers....and failing.

I love finding great things in Pinterest to try; both crafts and recipes. Normally I see things and think "Hey! I could do that! Psh! Easy!"

Then I try said craft/recipe/project and when I'm finished the end result is not quiiiiite what I was hoping for. Then I try it again and make changes until it's pleasing to me- and that is what you lovely people see here on the blog. Well, today I will share both the fails and the successes...just so you can get a good laugh in for the day (at my expense, of course).

Let's start at the beginning, shall we? I saw this bouquet on Pinterest:
(from MarthaStewart.com)
     Fun idea for Valentine's, right? Fill up your vase with red candies- festive and sweet (literally)! I thought "Heck yeah! This is gonna be great! I can do that!" I ran out to Trader Joe's for some flowers and bought a bunch of Red Hots at Target and sat down with a vase to get cookin'. Then I realized the issue:

1. Flowers need water to survive.
   and
2. If you fill the vase with water and candy, the candy will bleed and become a gooey sticky redish mess.

Huh. Then how the hell did that little scoundrel Martha do it? I swear that woman is magic. I came to two ideas, either:

1. The flowers in the picture are fake, thus not in need of water
  or
2. There is another, smaller vase with water holding the flowers and the candy is surrounding it.

Dang. I didn't think of that when I planned this seemingly easy decoration. This my friends, was Fail #1.
I realized- WAIT!!! If I just go to marthastewart.com I can find out! I did and of course, it's two nesting vases (see it here).Well, I didn't have two vases that nested together, so it was time to problem solve. 

This brings us to Fail #2. I thought,  "Well, I have glitter and a heart punch and ribbon, how about I just throw it all together in a jar and it will be rustic and whimsical and cute at the same time!" Man, never try to mix rustic,whimsical, and cute. Or at least think it through. This is why:
I think the major part of Fail #2 was adding the glitter. It's like a unicorn threw up in my makeshift vase. Bummer.

What did I learn from these 2 fails?

1. Sometimes, it's better to actually read the directions when you see something you like.
     and
2. Red Hots are delicious.

This story doesn't end in a fail my dears. I was too annoyed at this point that I was ruining a perfectly good bouquet of flowers so I grabbed one of my trusty blue Mason jars and got to making it Valentine's worthy. I had punched out a bunch of hearts from some stock paper, so I simply glued them back to back around a little bit of fishing line!

 Here's the before- which looks perfectly lovely without hearts...
 ...but just a little bit better with the simple heart garland, right?

 Here's how it looks a little further back...and with some candles too! (You'll see those in a post to come)
 So there you have it. I guess 3rd time is the charm. Dang Martha and her nesting vases...Trickery I tell ya.

What do you think of the final product? Are you lucky (smart) enough to read the directions before you jump into a project? I need to rename my blog  "The Impatient Crafter". Seriously.


P.S.*On another note---are there any Richmond bloggers that will be going to the Richmond Comedy Coalition "Richmond Famous" Show tomorrow night? Fellow RVA bloggers Sherry and John from Young House Love are featured, and I'm going for a night of great improv comedy! PLEASE leave a comment or email me if you are, I'd love to meet you! You can find more on the event here.

Point of View: A Creative Collaboration,a creative collaboration,point of view,point of view a creative collaboration
oh, and i totally forgot to link up on monday with brassy apple, so this will just be a "make it thursday"
Related Posts Plugin for WordPress, Blogger...